EPDM roof repair is often simpler than most property owners think, even if you’ve never attempted it before. EPDM (ethylene propylene diene monomer) is a synthetic rubber roofing material that’s popular for its durability and flexibility, but like any roof, it can develop leaks over time.
Quick EPDM Repair Overview:
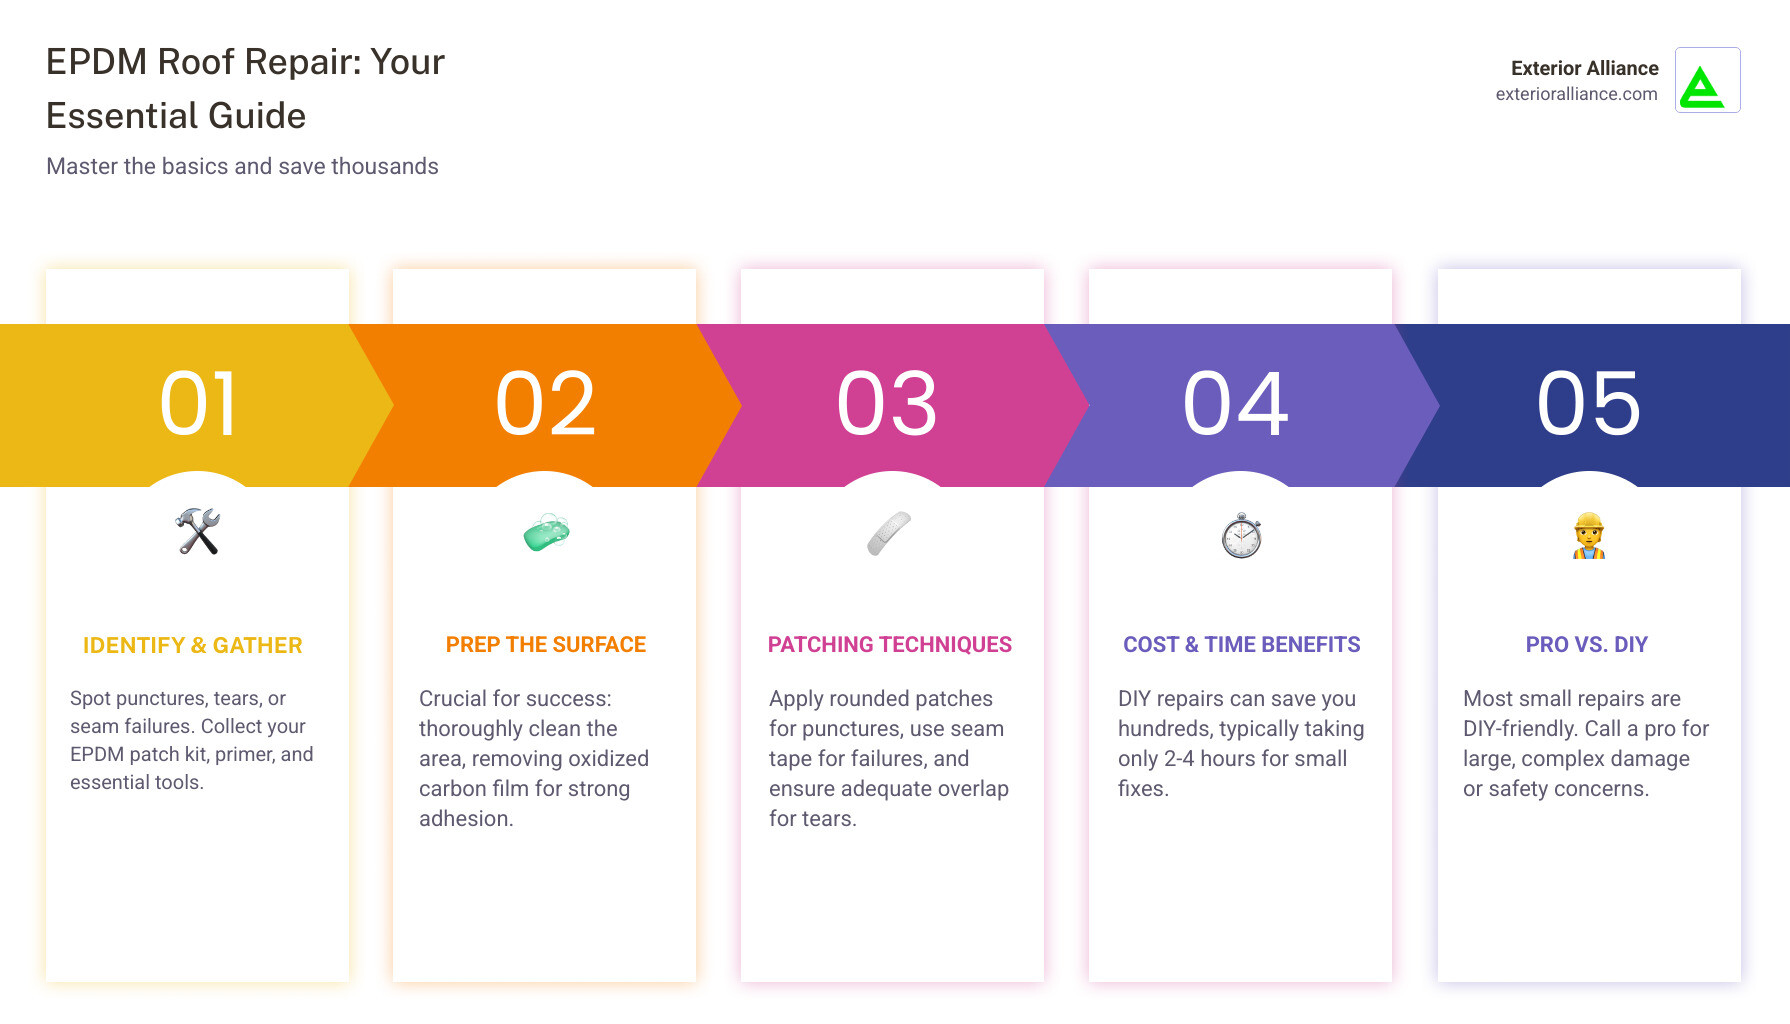
- Small punctures: Clean area, apply primer, patch with EPDM membrane
- Seam failures: Use EPDM seam tape or liquid adhesive
- Tears: Cut rounded patch 3+ inches larger than damage
- Cost: DIY repairs typically $200-600 vs $500-1,500+ professional
- Time: Most small repairs take 2-4 hours
EPDM roofs are known to develop issues within 5 years of installation, with common problems including punctures from dropped tools or foot traffic, seam failures, and shrinkage from UV exposure. The good news? EPDM maintains its flexibility even after years of service, making it one of the easiest roofing materials to repair properly.
When storms hit Columbus, having basic EPDM repair knowledge can save you thousands while you wait for professional help. This guide walks you through everything from identifying damage to applying patches that last.
The key to successful EPDM repair lies in proper surface preparation – something many DIYers skip. We’ll show you exactly how to clean away the carbon film that develops on EPDM surfaces and ensure your repairs bond correctly.
Understanding EPDM Roofs and Common Issues
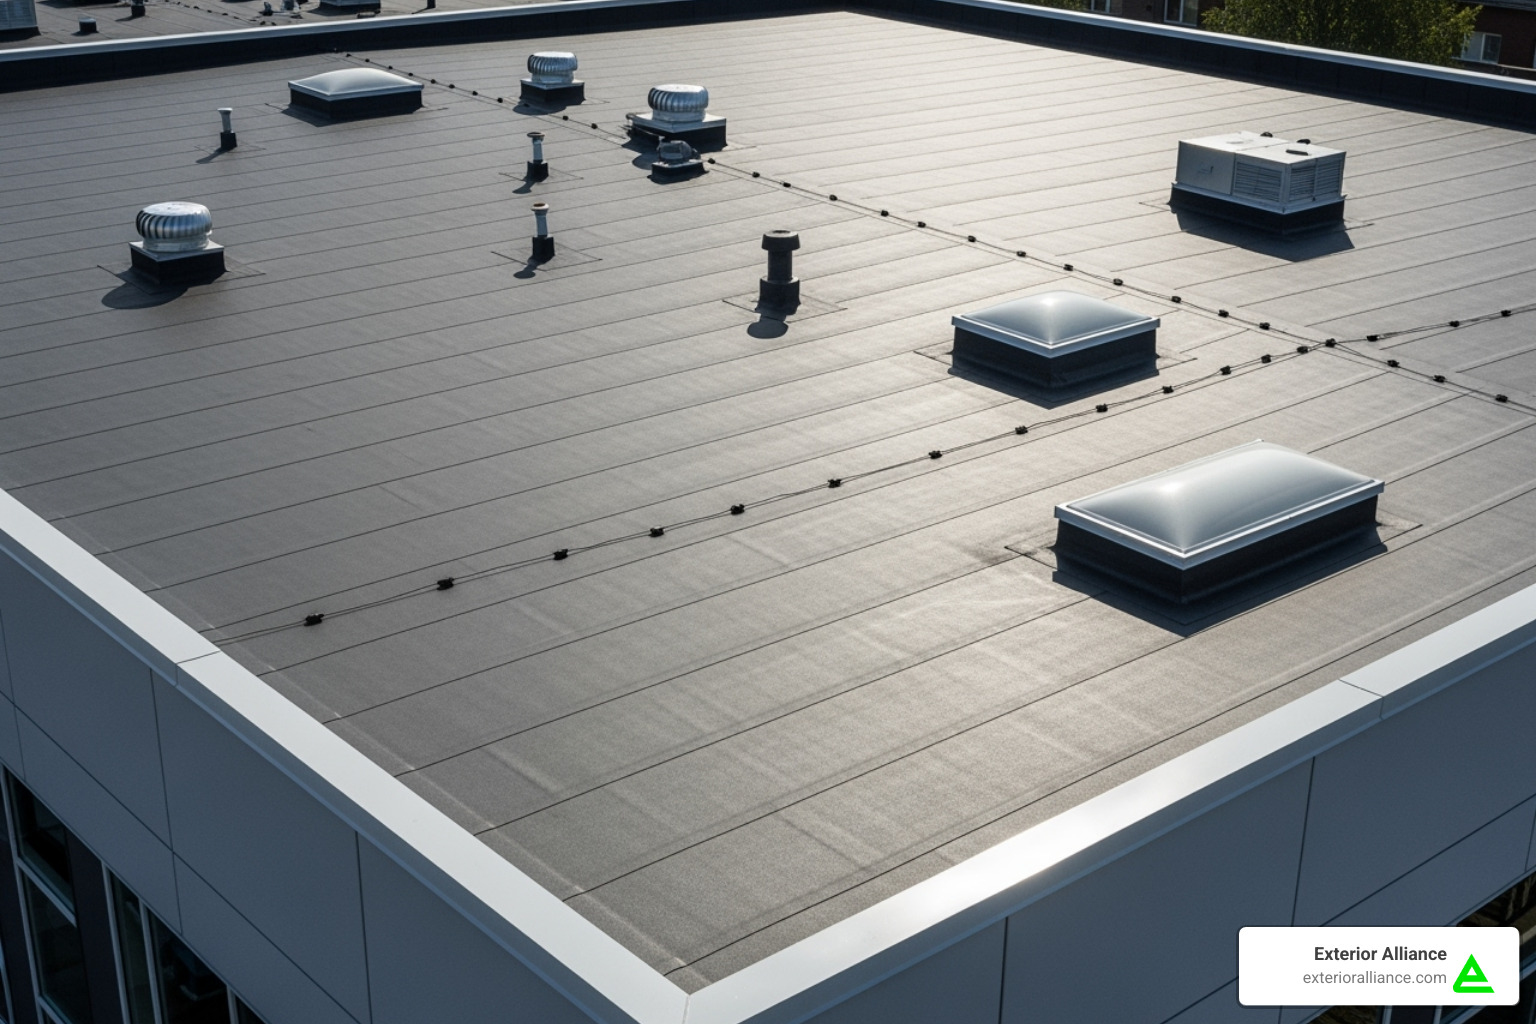
If you’ve ever wondered why so many commercial buildings in Columbus sport those sleek black roofs, you’re looking at EPDM in action. This synthetic rubber membrane has earned its reputation as one of the most reliable roofing materials available, and for good reason.
EPDM’s durability is legendary in the roofing world. Unlike traditional materials that crack and become brittle over time, EPDM maintains its rubber-like properties for decades. It laughs off hailstorms, shrugs off temperature swings from -40°F to 300°F, and keeps its flexibility even after years of Ohio weather beating down on it.
But here’s the thing about even the toughest roofing materials – they’re not invincible. EPDM roofs can develop issues that, if caught early, are surprisingly manageable with proper EPDM roof repair techniques.
Punctures from foot traffic are probably the most common culprit we see. A dropped screwdriver during an HVAC repair, someone walking across the roof in work boots with a sharp stone stuck in the sole, or debris from a storm can create small holes. Don’t let the size fool you – even a tiny puncture can let in gallons of water during a heavy rain.
Seam failures happen when those large EPDM sheets start separating at their joints. Think of it like the seam on your favorite shirt giving way after years of wear. The constant expansion and contraction from temperature changes gradually weakens the bonds between membrane sections.
Blistering from trapped moisture creates those bubble-like bumps you might notice during roof inspections. When water vapor gets trapped under the membrane and then heats up in the sun, it’s like nature’s own balloon-making process – except these balloons can eventually pop and create leaks.
Shrinkage from UV exposure is EPDM’s way of showing its age. Over time, that reliable flexibility can work against you as the membrane slowly pulls away from edges and flashing. It’s not dramatic, but even a quarter-inch of movement can compromise seals around roof penetrations.
The beauty of understanding these common problems is that most are completely fixable with the right approach. Small punctures, minor seam issues, and early-stage shrinkage problems are perfect candidates for DIY repair when you know what you’re doing.
For more complex issues or when you’re dealing with multiple problem areas, our guide on Commercial Roof Leak Repair can help you determine whether it’s time to call in the professionals or tackle the job yourself.
The Complete DIY Guide to EPDM Roof Repair
Don’t let a small leak turn into a major headache! With the right approach and a bit of patience, you can often handle minor EPDM roof repair projects yourself. We’ll walk you through everything step by step.
Gathering Your Tools and Preparing the Surface
Before you climb up there, let’s talk safety. Always follow roofing safety guidelines when working on any roof. Make sure the surface is completely dry, use a sturdy ladder, and wear shoes with good grip. Trust us – a slip isn’t worth saving a few dollars.
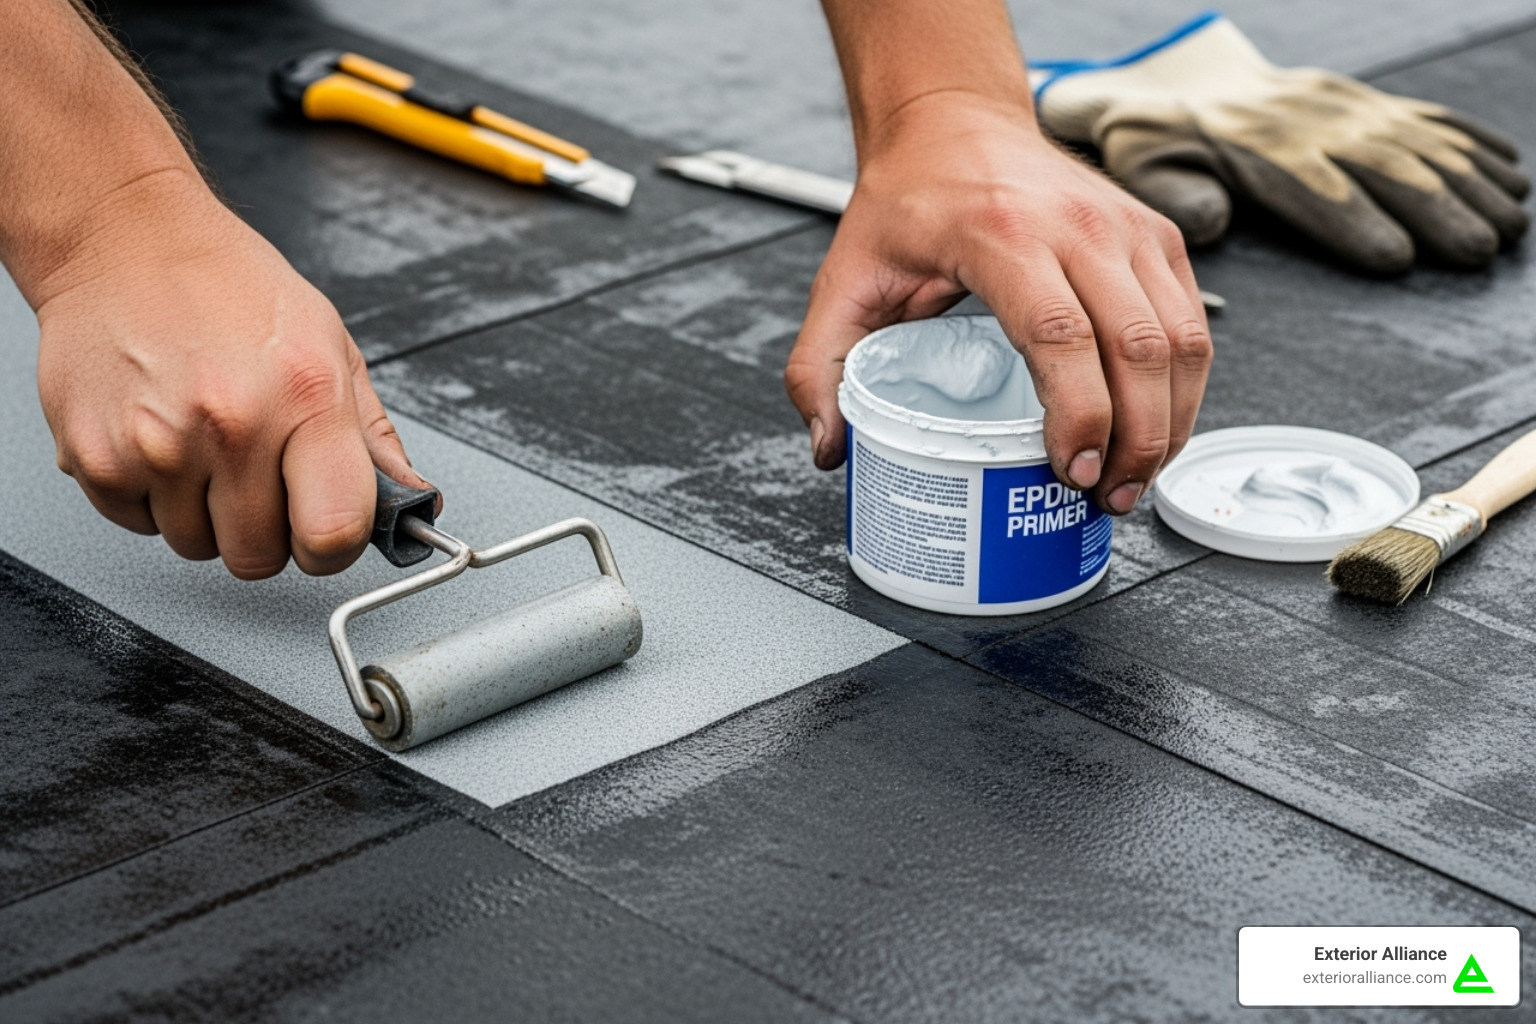
Getting the right materials makes all the difference in your repair success. You’ll need an EPDM patch kit that includes the patch material, primer, and adhesive. Make sure your patch material is at least 0.060″ thick – thinner material just won’t hold up long-term. You’ll also want EPDM primer for proper adhesion, splice adhesive designed specifically for bonding EPDM to EPDM, and lap sealant to seal those patch edges.
For tools, grab a sharp utility knife, a seam roller (steel works best), and some basic cleaning supplies. Don’t forget your safety gear – gloves and eye protection are non-negotiable.
Here’s where most DIY repairs go wrong: surface preparation. EPDM develops a fine layer of carbon black material on its surface over time. You might not see it, but it’s there, and it’ll ruin your repair if you don’t remove it properly.
Start by scraping away any loose debris, then scrub the area with a soft brush and warm soapy water. Rinse thoroughly and let it dry completely. Next, clean again with a weathered membrane cleaner – this specialized product removes that stubborn carbon film that regular soap can’t touch.
Want to test if it’s clean enough? Wipe the area with a clean white rag. If it comes away black, keep cleaning. The surface must be spotless for your patch to bond correctly. This step separates repairs that last from those that fail within months.
For more comprehensive repair guidance, check out our Commercial Roof Leak Repair resources.
Step-by-Step: Patching Punctures and Tears
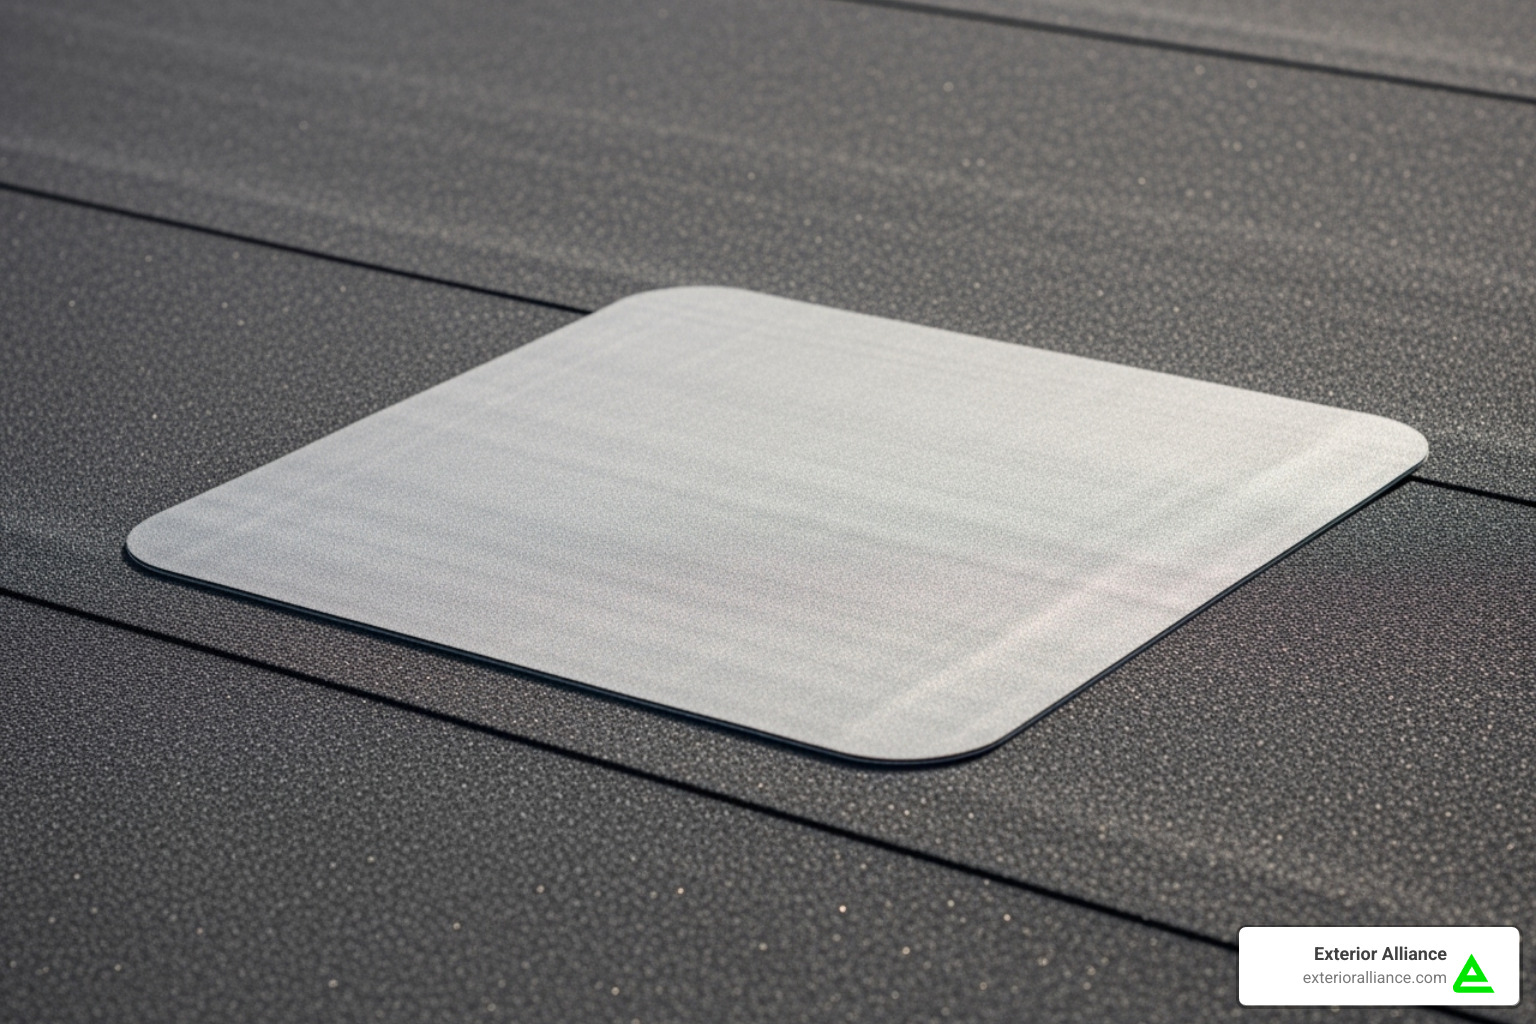
Now for the actual repair work. First, cut your patch at least 3 inches larger than the damaged area in all directions. Even a tiny pinhole needs at least a 6″ x 6″ patch. Here’s a pro tip that many people skip: round all the corners of your patch. Sharp corners love to catch and peel up over time.
Apply a thin, even layer of EPDM primer to the cleaned roof surface, extending 3-4 inches beyond where your patch will sit. If you’re using a traditional patch (not peel-and-stick), prime the back of the patch too. Let the primer dry until it feels tacky but not wet.
For glue-down patches, apply splice adhesive to both the primed roof area and the patch back. Here’s the crucial part – wait for the adhesive to flash-off. This means letting the solvents evaporate until it’s tacky but doesn’t string when you touch it lightly with a clean finger. Rushing this step ruins repairs.
Carefully place the patch over the damage, aligning one edge first and rolling it down smoothly. Avoid stretching or wrinkling the material. Once positioned, use your seam roller with firm pressure, working from the center outward in all directions. This removes air bubbles and creates a strong bond.
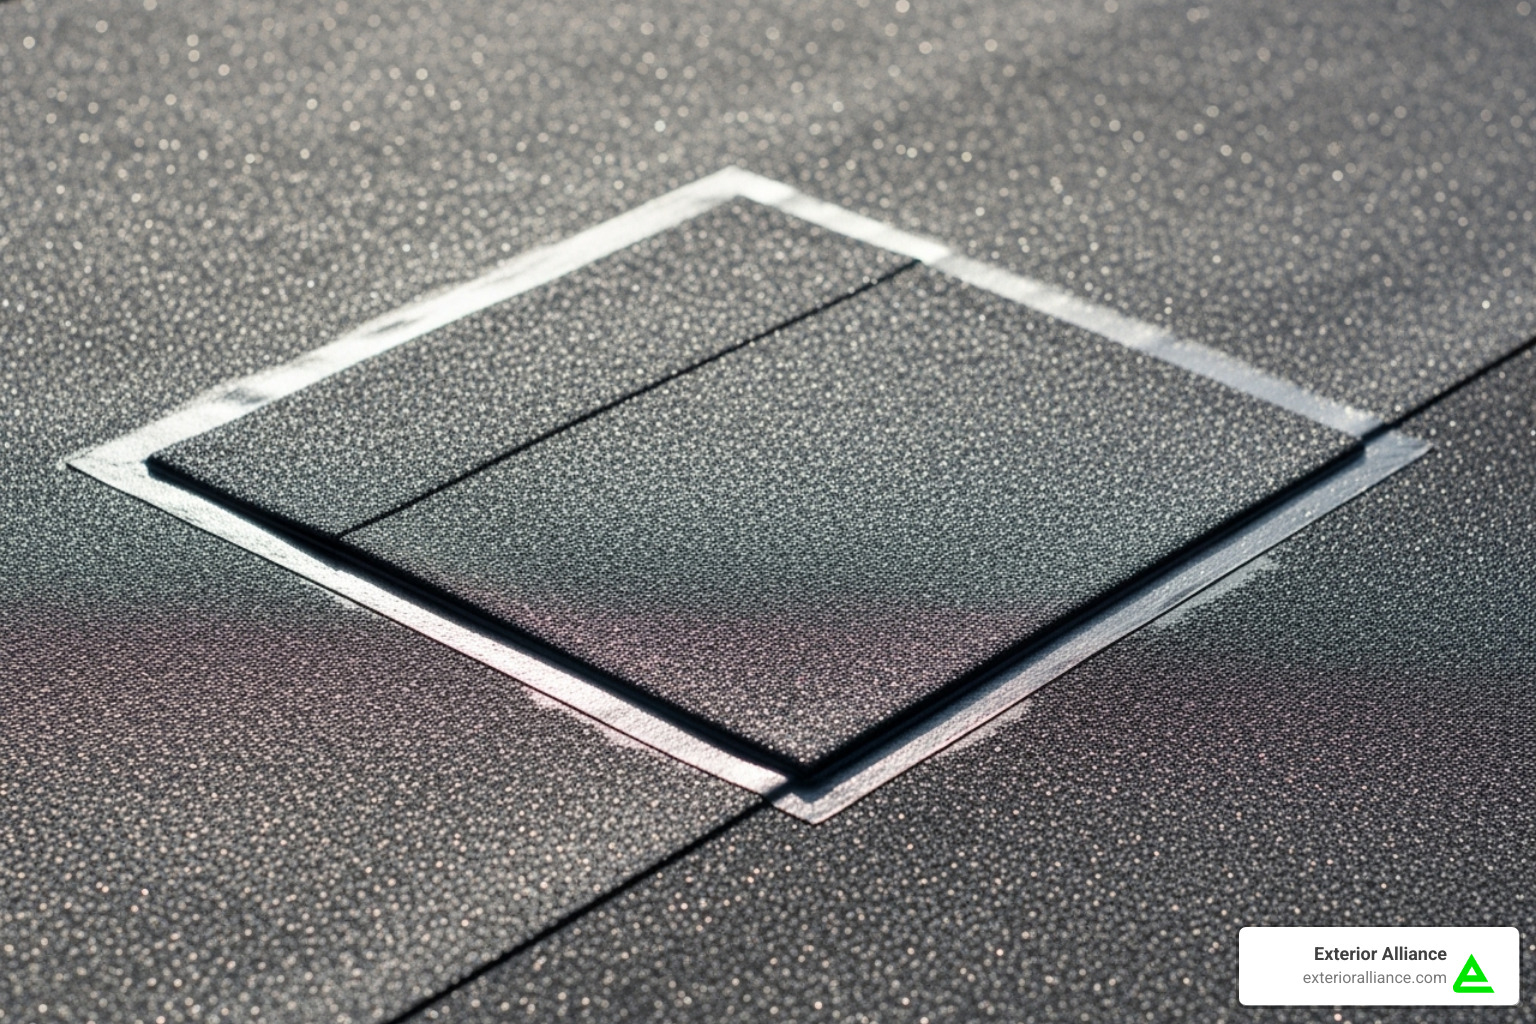
Wait at least 4 hours before sealing the edges. Clean about an inch around the patch perimeter, apply primer, and let it dry. Then apply a thick, continuous bead of EPDM lap sealant around the entire patch edge. Smooth it with a plastic tool, making sure it’s thickest over the edge and blends smoothly into the surrounding roof.
For more detailed repair techniques, explore our comprehensive Roof Repair Guide 2024.
Best Practices for a Durable Repair
The difference between a patch that lasts years and one that fails in months often comes down to following a few critical best practices.
Seam failures require special attention since they’re such common problem areas. When repairing failed seams, use EPDM-specific seam tape or liquid adhesive. Clean and prime the area carefully, then apply firm pressure with your seam roller to eliminate air pockets. For larger seam issues, run a bead of lap sealant along the entire repaired length.
3-inch minimum overlap rule and those rounded corners we mentioned? They’re not suggestions – they’re essential for long-term success. The rounded corners prevent future peeling, while adequate overlap ensures your patch has enough bonding surface to handle expansion and contraction.
Pressure application during rolling can’t be overstated. That seam roller isn’t just for show – it’s what creates the complete bond between your patch and the roof. Work methodically, applying firm, consistent pressure to squeeze out trapped air.
Here’s a critical warning: never use asphalt-based products on EPDM roofs. Roof cement, asphaltic coatings, or tar will contaminate the rubber, causing it to swell and degrade. Always stick with EPDM-specific materials.
The cleanliness factor deserves repeating because it’s where most DIY repairs fail. Even professional repairs can fail due to inadequate cleaning. If you’re questioning whether it’s clean enough, clean it again. That carbon film must be completely gone.
Don’t rush the curing process either. Allow primers, adhesives, and sealants to cure according to manufacturer instructions. We know you’re eager to call the job done, but patience here pays off in years of leak-free performance.
Always follow roofing safety guidelines throughout your repair work. No repair is worth risking injury.
Restoration vs. Replacement: What’s Right for Your Roof?
Sometimes you’ll face a bigger decision than just patching a leak. When your EPDM roof shows widespread wear, you’ll need to choose between restoration and complete replacement.
EPDM roof restoration involves applying protective coatings over your existing roof, fixing minor damage, and protecting against UV rays and weathering. It’s like giving your roof a new lease on life without the major disruption of replacement.
Restoration offers significant cost savings – often up to 50% compared to replacement. The process creates minimal disruption, often allowing businesses to operate normally during the work. You’ll extend your roof’s life by 10-20 years while being environmentally friendly by reducing landfill waste.
Replacement becomes necessary when you’re dealing with severe damage, compromised structural integrity, or multiple existing roofing layers that exceed building codes. If your roof deck or insulation has significant water damage, restoration won’t address those underlying structural issues.
| Consideration | Restoration | Replacement |
|---|---|---|
| Cost | Up to 50% savings | Higher upfront investment |
| Disruption | Minimal business interruption | Significant downtime potential |
| Lifespan Extension | 10-20 additional years | Full new roof lifespan (20-30 years) |
| Environmental Impact | Eco-friendly, reduces waste | Generates substantial waste |
| Best For | Structurally sound roofs with minor issues | Severe damage or structural problems |
If your EPDM roof is nearing its typical 20-30 year lifespan and has suffered from neglect, replacement might be more cost-effective than continuous repairs. However, well-maintained EPDM roofs can last up to 50 years.
For detailed information about restoration options, visit our EPDM roof restoration page. If you’re considering replacement, our Roof Replacement Cost guide provides valuable cost insights to help with your decision.
When to Call a Pro and How to Maintain Your Roof
While many EPDM roof repair tasks are manageable for a determined DIYer, there are crucial situations where calling in the professionals is not just recommended, but essential. Think of it this way: you wouldn’t perform surgery on yourself, and some roof repairs deserve the same respect. Knowing when to pick up the phone can save you time, money, and prevent further damage to your property.
Signs You Need Professional EPDM Roof Repair
We love empowering property owners with knowledge, but we also believe in knowing our limits – and helping you recognize yours! Here are the key indicators that it’s time to call in a professional roofing contractor:
Large or complex damage is often the first red flag. If you’re dealing with a tear that’s several feet long, extensive bubbling across a wide area, or multiple punctures that seem to be playing connect-the-dots, these are often too complex for a DIY fix to be truly durable. Professional roofers have specialized equipment and years of experience tackling large-scale repairs that would overwhelm most homeowners.
Safety concerns should always trump your desire to save money. Working on a roof can be dangerous, especially when you’re not used to it. If the roof is excessively high, has any kind of steep pitch, or if weather conditions like wind, rain, or extreme heat make it unsafe, leave it to the experts. Your safety is worth more than any repair cost.
Multiple leaks or mysterious water sources indicate a more complex problem. If you have water stains appearing in several different locations, or if you can’t pinpoint the exact source of a leak despite your best detective work, it’s time to call in reinforcements. Professionals have diagnostic tools and experience to trace leaks back to their origin, which might be nowhere near where you see the water damage.
Ponding water issues deserve special attention. While minor ponding (water that stands for more than 48 hours after rain) can sometimes be addressed with minor slope adjustments, persistent or severe ponding often points to structural issues with the roof deck or inadequate drainage. This requires professional assessment and often more extensive work than a simple patch job.
Underlying structural damage is definitely professional territory. If you suspect the leak has compromised the roof deck, insulation, or supporting structures – like soggy areas or sagging sections – a professional must assess the damage. Fixing just the leak won’t solve the deeper problem, and you could be looking at serious structural issues down the road.
Don’t forget about warranty concerns either. Attempting DIY repairs might void an existing roof warranty, which could cost you thousands later. If your EPDM roof is still under warranty, consult with the original installer or a professional to understand the implications before you start.
Typical Professional Repair Costs:
While DIY repairs for tears and punctures might cost you $200 to $600 in materials, professional services come with a broader range depending on the issue’s complexity and size. Improper installation issues typically run $500 to $1,500 or more. Ponding water corrections that require drainage or slope adjustments can range from $600 to $2,000. Basic tears and punctures professionally repaired still fall in the $200 to $600 range. Shrinkage issues requiring reflashing and resealing typically cost $400 to $1,000. Sealant, flashing, and edge work usually runs $300 to $700, while blistering and bubbling repairs typically cost $250 to $600.
For urgent or complex situations, we offer Emergency Roof Repair services to protect your property quickly and effectively.
Proactive Maintenance for a Longer Lifespan
Here’s the truth: the best EPDM roof repair is the one you never have to do! Proactive maintenance is your secret weapon for extending the lifespan of your EPDM roof and avoiding future headaches. EPDM roofs can last up to 50 years when properly maintained, which is pretty impressive for any roofing material.
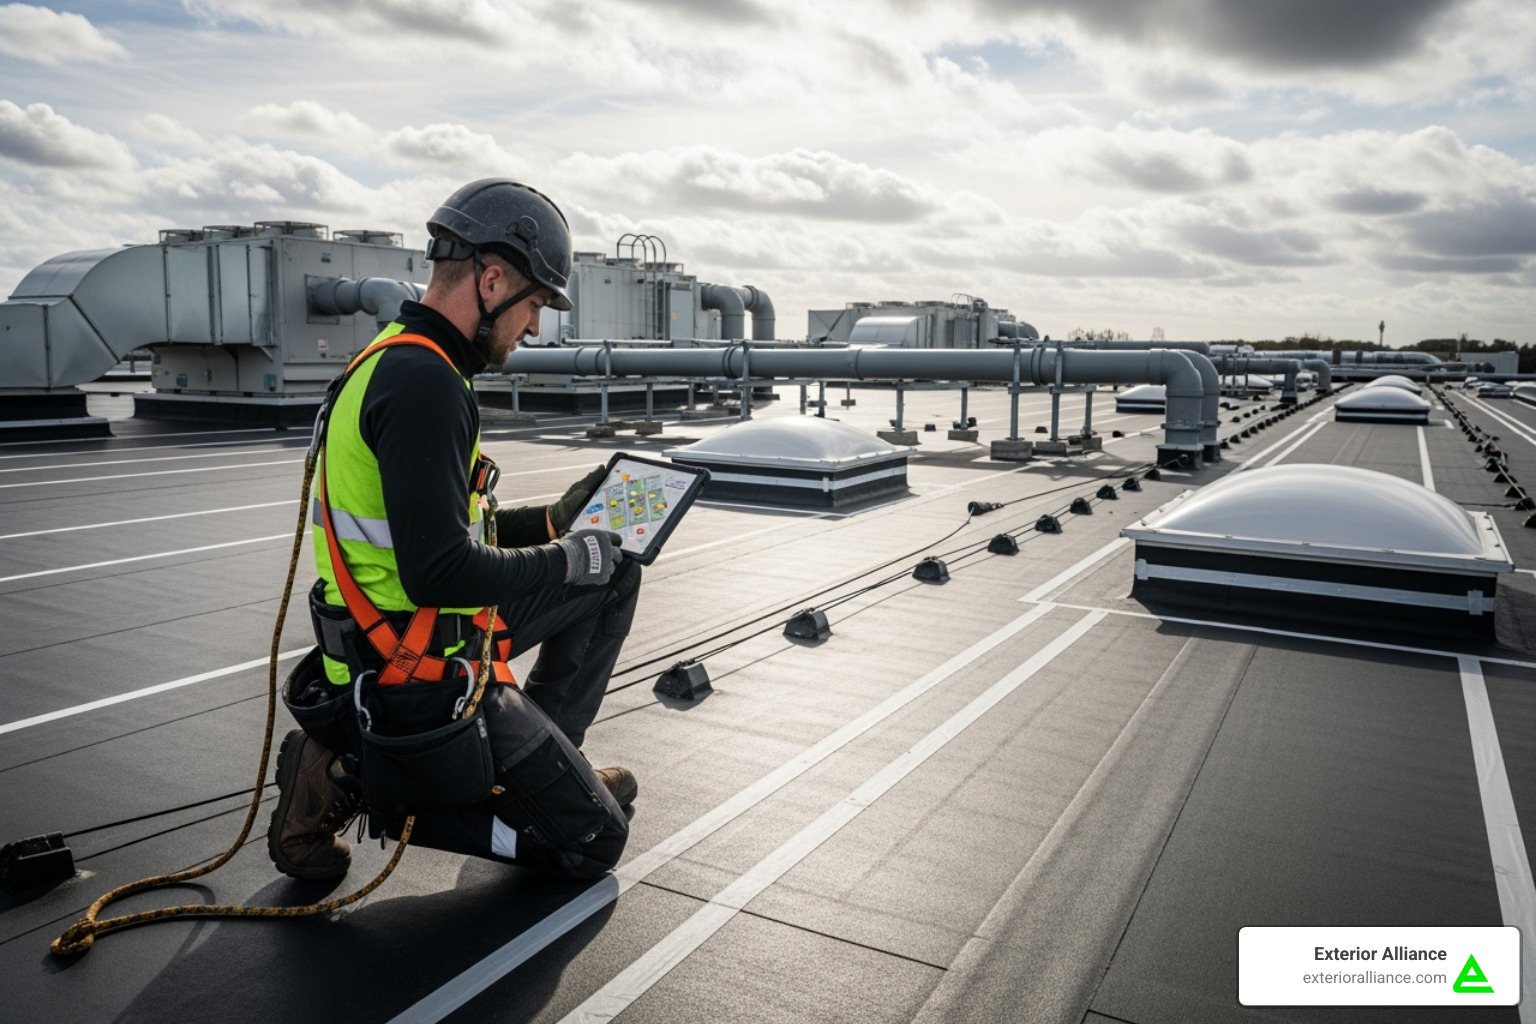
Regular inspections are your first line of defense. Think of them as health checkups for your roof. Conduct visual inspections at least twice a year – we recommend spring and fall – and always after severe weather events. Look for any visible damage, loose seams, pooling water, or debris accumulation. Early detection of minor issues prevents them from escalating into major, expensive problems.
Debris removal might seem obvious, but it’s amazing how many property owners overlook this simple task. Keep your roof clean and free of leaves, branches, dirt, and other debris. Accumulated debris can trap moisture, promote organic growth, and even conceal small punctures that could become big problems. Regular cleaning also prevents the buildup of that black carbon dust we talked about earlier, which can hinder future repairs.
Checking and repairing seams promptly is crucial because seams are often the first point of failure on any EPDM roof. During your inspections, pay close attention to all seams, flashing, and penetrations. If you notice any signs of separation, cracking, or deterioration, address them immediately with EPDM-compatible sealants or patches. A small seam issue today can become a major leak tomorrow.
Addressing ponding water should be a priority. While EPDM is water-resistant, prolonged standing water can accelerate membrane degradation and stress seams. If you observe water standing on your roof for more than 48 hours after rainfall, it indicates a drainage issue that needs attention. This might require adjusting the roof slope, adding drains, or improving existing drainage systems – work that often needs professional intervention.
Managing foot traffic is often overlooked but important. EPDM rubber roofs are fairly easy to puncture with dropped tools or careless foot traffic. If your roof experiences regular foot traffic for maintenance or access to equipment, consider installing walk pads in high-traffic areas to protect the membrane. It’s a small investment that can prevent much larger repair bills.
At Exterior Alliance, we understand the importance of a well-maintained roof for both residential and commercial properties in Dublin, Columbus, and across Central Ohio. Whether you need a professional inspection, complex repairs, or simply advice on routine maintenance, our experienced, trained, and insured team is here to help. We hold a BBB A+ rating and are committed to quality and excellence in every project we undertake.
Don’t wait for a small leak to become a big headache! Contact our commercial roofing contractors in Ohio for an inspection today. We’re ready to provide you with a free estimate and ensure your EPDM roof remains a reliable shield for your property for years to come.

