Your Guide to Understanding Chimney Flashing

Chimney flashing repair is the process of fixing or replacing the metal barrier that seals the gap between your chimney and roof. If you’ve noticed water stains on your ceiling or heard dripping sounds after a storm, your chimney flashing is a likely culprit. Chimneys are a common source of roof leaks, but catching flashing issues early can prevent expensive structural damage.
Quick Answer: When to Repair vs. Replace
- Minor repairs ($100-$200 DIY): Small gaps, loose caulk, or minor rust spots
- Professional repair ($700-$1,500): Extensive rust, multiple leaks, or separated flashing
- Full replacement: When flashing is rusted through, completely separated, or during roof replacement
Chimney flashing is a layered system of sheet metal that creates a waterproof seal where your chimney meets the roof. When this seal fails, water can penetrate your attic and walls, leading to wood rot and mold. This guide will help you identify problems and decide between a DIY fix and calling a professional.

Without properly installed and maintained flashing, even a small leak can lead to significant and costly problems. Detecting issues early can save you from extensive water damage.
Signs Your Chimney Flashing is Failing
Here are the most common signs that your chimney flashing repair is needed:
- Water Stains: The most obvious sign, appearing on ceilings or walls near the chimney.
- Dripping Sounds: Hearing drips from inside the chimney during or after rain.
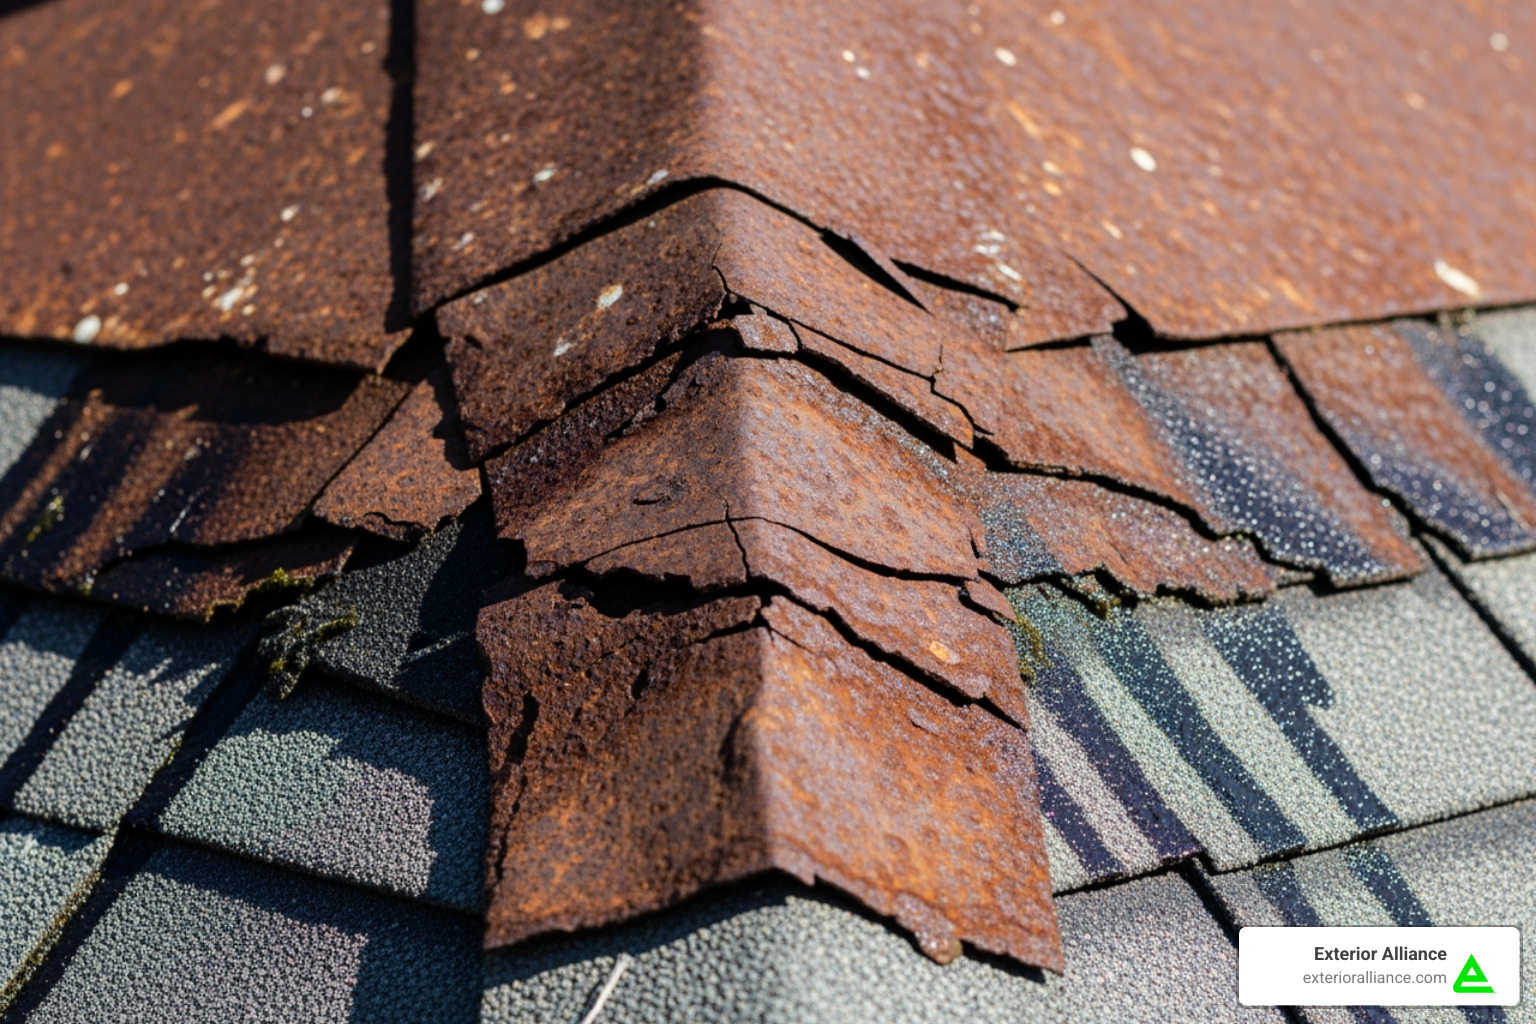
- Rust Stains: Corrosion streaks on the chimney or roof shingles below it.
- Damaged Bricks: Discolored, crumbling, or flaking bricks due to water saturation.
- Visible Gaps or Cracks: Openings between the chimney and roof, or cracks in the flashing itself.
- Loose Flashing: Metal pieces that are no longer securely attached.
- Moss or Algae Growth: Indicates persistent moisture around the chimney base.

Ignoring these signs can lead to structural damage. If you’ve recently experienced severe weather in Central Ohio, it’s especially important to check for storm damage to your roof and flashing. You can find more information about our storm damage services here.
DIY vs. Professional Repair: A Budget Breakdown
Deciding between DIY and professional repair often comes down to budget versus long-term value.
DIY Repair Costs: For those comfortable working on a roof, a DIY repair can seem budget-friendly, with materials costing $100 to $200. This typically covers supplies like roofing cement and caulk for minor fixes.
Professional Repair Costs: Hiring a pro costs more upfront, usually $700 to $1,500, but includes expertise, quality materials, and labor. Professionals ensure the job is done right, often with a warranty.
The Risks of DIY: A faulty DIY repair can lead to continued water damage, voided roof warranties, safety hazards, and expensive structural issues down the line. The initial savings can be quickly erased by the cost of fixing bigger problems.
For most homeowners in Central Ohio, a professional repair offers better long-term value. Experts provide a comprehensive assessment, correct installation, and a warranty for peace of mind. While resealing a small gap can be a DIY task, significant issues like rust, separated flashing, or multiple leaks require a professional to ensure a lasting, watertight solution. Check out our warranties here.
| Repair Type | Cost Range (Approx.) | Time to Complete | Skill Level Required | Typical Longevity |
|---|---|---|---|---|
| DIY Minor Sealing | $100 – $200 | Half Day | Beginner to Intermediate | 6 months – 2 years (temporary) |
| DIY Flashing Replacement | $100 – $200 | Full Day (Advanced) | Advanced (high risk) | 5 – 15 years (if done perfectly) |
| Professional Repair | $700 – $1,500 | Half to Full Day | Professional | 15 – 30+ years (with warranty) |
Essential Tools & Materials for a DIY Chimney Flashing Repair
If you’ve assessed the damage and determined it’s a minor repair you can handle, gathering the right tools and materials is your first step. Safety should always be your top priority.
- Safety Gear: Sturdy ladder, roof safety harness, non-slip shoes, work gloves, and safety glasses.
- Tools: Utility knife, wire brush, pry bar, hammer, caulk gun, trowel, and tin snips. For advanced repairs, you may need a cold chisel and masonry drill.
- Materials: High-quality roofing cement and exterior sealant (polyurethane or silicone), self-adhering roofing membrane (ice and water barrier), sheet metal flashing, and galvanized roofing nails. For brick chimneys, you may also need mortar mix.
Using quality materials is crucial. While DIY can save money on simple fixes, improper work can lead to bigger problems.
The Ultimate Guide to Chimney Flashing Repair
When it comes to chimney flashing repair, knowing what you’re dealing with makes all the difference. Whether you’re considering a quick DIY fix or a complete professional replacement, understanding the process helps you make the right call for your home and budget.
Safety First: Essential Precautions for Roof Work
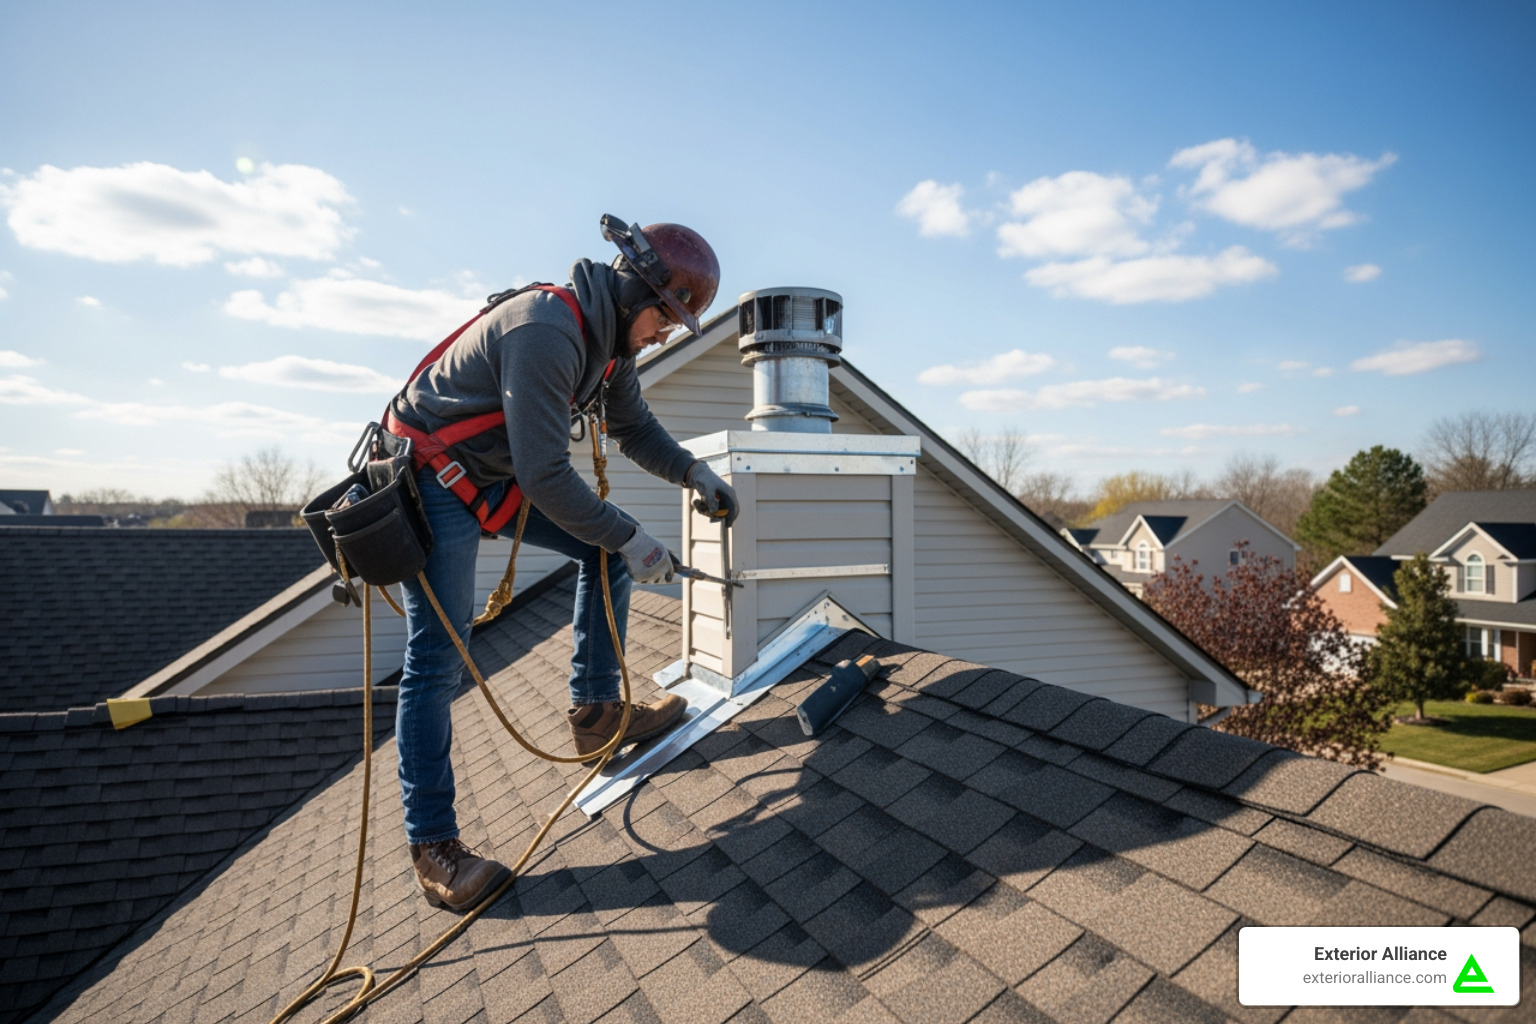
Safety is non-negotiable when working on a roof. Before starting any repair, follow these essential precautions:

- Work in Safe Conditions: Only work on a dry, calm day. Avoid windy, wet, or icy roofs.
- Use Proper Ladder Safety: Place your ladder on stable ground and ensure it extends at least three feet above the roofline. Have someone hold it steady.
- Wear the Right Gear: Use rubber-soled shoes for traction and a personal fall arrest system (safety harness) on any sloped roof.
- Keep Your Workspace Clean: Clear away leaves and debris to prevent slips.
- Know Your Limits: If you are uncomfortable with heights, the roof is steep, or the repair seems complex, call a professional. Your safety is paramount.
A Step-by-Step Guide to Minor Chimney Flashing Repair
These steps are for minor chimney flashing repair only, such as sealing a small crack or loose caulk. These are temporary fixes, not a permanent solution.

- Inspect Closely: Find the source of the leak, which may be small cracks, peeling caulk, or minor rust spots.
- Clean the Area: Use a wire brush to remove all dirt, rust, and old sealant. New sealant will not adhere to a dirty surface.
- Seal Cracks and Holes: Apply a generous amount of roofing cement over small cracks or holes, smoothing it with a putty knife to cover the area completely.
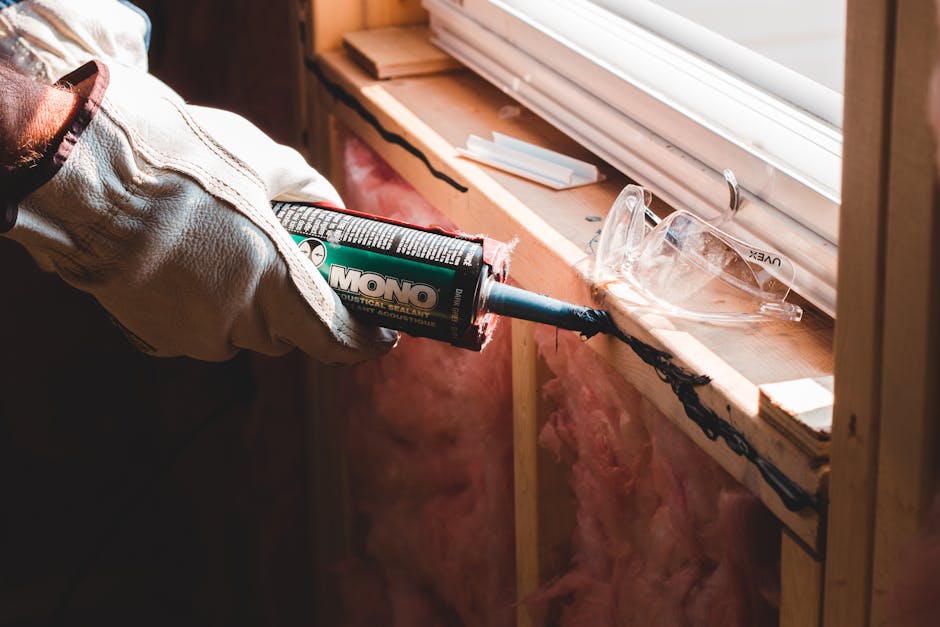
- Replace Old Caulk: Scrape out cracked or loose caulk from the flashing edges. Apply a new, continuous bead of high-quality exterior sealant (polyurethane or silicone).
- Monitor the Repair: After the sealant cures, check for leaks after the next rain. If the leak persists, the problem is more significant and requires a professional.
These repairs are temporary. For a lasting solution, professional replacement is often necessary. For more detailed DIY instructions, see Family Handyman’s guide on how to install chimney flashing. If you’re in the Dublin area, learn about our roof repair services in Dublin.
Debunking Common Flashing Repair Myths
Let’s debunk some common myths about chimney flashing repair that can lead to costly mistakes.
- Myth: “Caulk is a permanent fix.” Reality: Caulk and roofing cement are temporary patches. Ohio’s weather breaks down sealant quickly. If the metal flashing has failed, it must be replaced, not just covered.
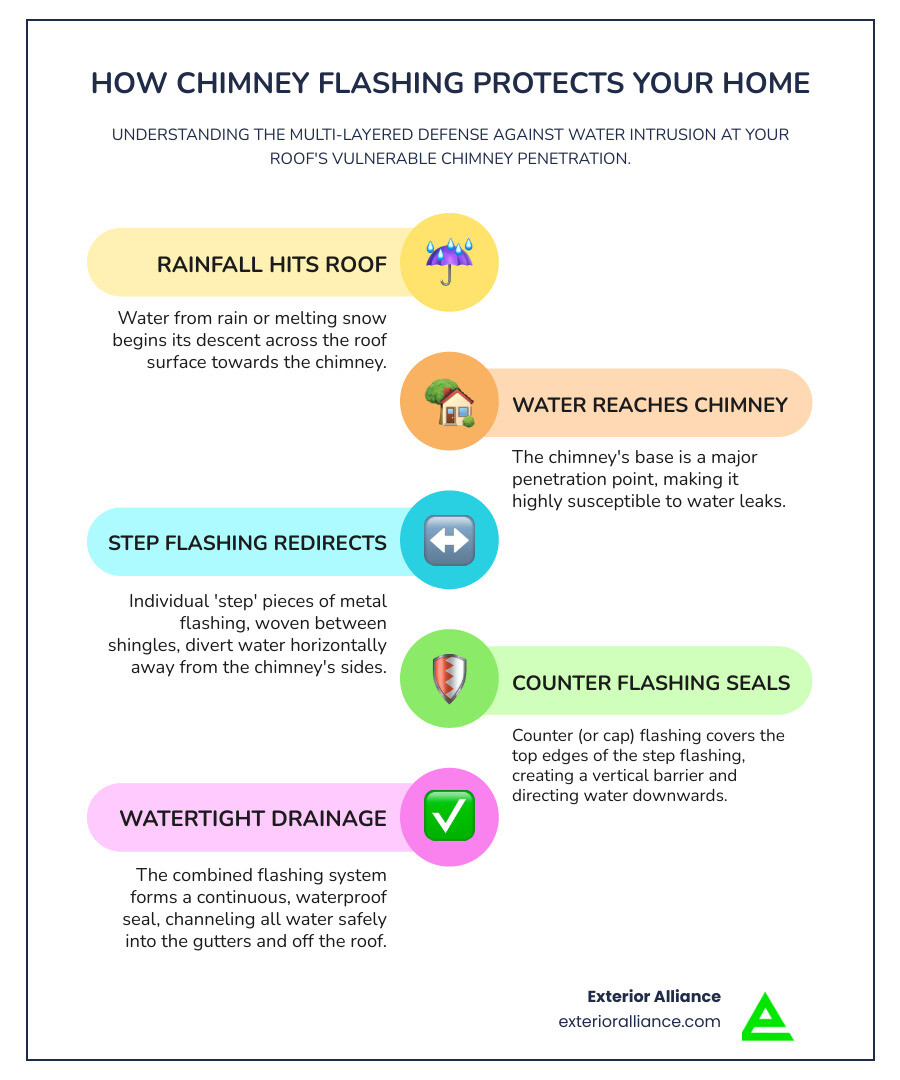
- Myth: “You only need to replace the damaged section.” Reality: Flashing is an interconnected system. Base, step, and counter flashing work together. Replacing only one piece compromises the entire system and often leads to future leaks.
- Myth: “Flashing is maintenance-free.” Reality: Even professionally installed flashing requires regular inspection. Weather in Central Ohio takes a toll, and catching minor issues early prevents major damage.
- Myth: “Siding can sit flush against the roofline.” Reality: Siding on a chimney must have a gap (at least a quarter-inch) above the roof to allow for proper water drainage and prevent rot. If you have siding issues, we can help with that too – check out our siding repair services.
Pro Tips for a Watertight Seal & Long-Term Care
A professional repair ensures a watertight seal that lasts. Here are key elements of a quality job and long-term care.
- Proper Layering: A complete flashing system includes base flashing, step flashing woven with shingles, and counter flashing embedded into the chimney’s mortar joints. This layered approach directs water away safely.
- Chimney Cricket: Wider chimneys (30+ inches) require a cricket (or saddle) on the high side of the roof to divert water and prevent pooling.
- Material Choice: Copper and stainless steel offer the best longevity, while galvanized steel and aluminum are budget-friendly options. Never mix different metals, as this causes corrosion.
- Underlayment is Key: A self-adhering ice and water barrier should always be installed on the roof deck around the chimney before the metal flashing is put on. This provides a crucial secondary layer of protection.
- Annual Inspections: The National Roofing Contractors Association (NRCA) recommends at least one roof inspection per year. Check your flashing for loose sealant, corrosion, or damage, and address issues immediately to prevent costly repairs.
At Exterior Alliance, we ensure quality workmanship on every job in Columbus, Dublin, and Central Ohio. If you have concerns about your chimney flashing, schedule your free roof estimate today. We’ll provide an honest assessment and a lasting solution.

